

ELISA Processors Market Growth Trends and Outlook
Other |
2026-04-27 07:04:00
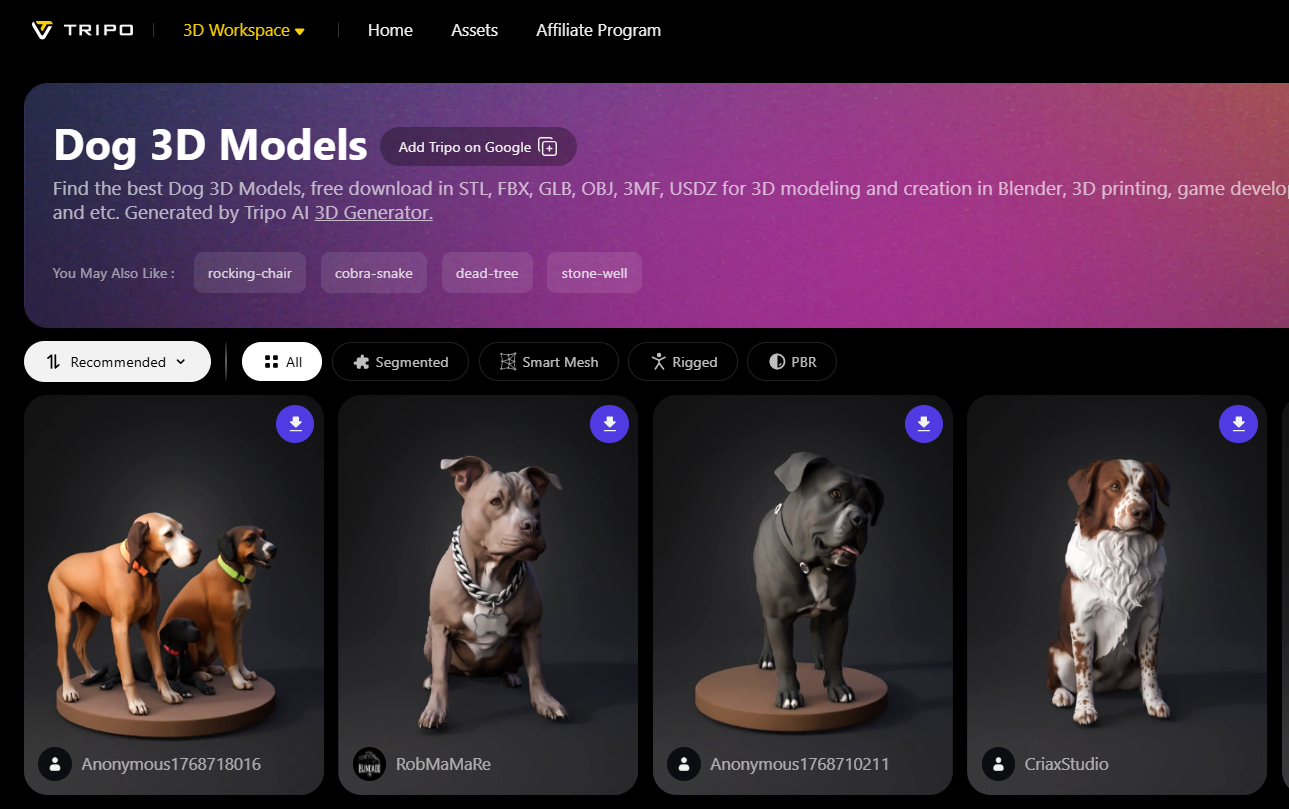
Integrating lifelike animals into your digital scenes can transform a static environment into a vibrant, living world. For Blender enthusiasts, finding high-quality assets without breaking the bank is a common goal, especially when working on personal portfolios or indie game prototypes. Utilizing free resources allows creators to experiment with lighting, fur simulation, and complex rigging without the initial financial investment of custom commissions. A great starting point for discovering these assets is a curated dog 3D model gallery where you can observe various breeds and artistic styles. Once you have identified a model that fits your creative vision, the journey from a web download to a fully rendered animation in Blender involves a few critical steps that ensure the mesh remains clean and functional.
The first step in a successful workflow is ensuring the file format you download is compatible with Blender’s internal engines. While Blender is incredibly versatile, certain formats like .blend, .FBX, and .OBJ are the industry standards for a reason. An .FBX file is often preferred for canine models because it typically preserves skeletal data, animations, and basic material assignments, saving you hours of manual setup. If you are browsing a dog 3D model gallery and find a model in .OBJ format, keep in mind that this is a static mesh format; while it will look great, you will need to build the "bones" or rig from scratch if you intend to make the dog walk or bark. Always check the licensing terms of free models to ensure they allow for the specific type of project you are developing.
Once you have secured your file, importing it into Blender is as simple as navigating to the "File" menu and selecting "Import." However, a common issue many beginners face is the "scale mismatch." A model designed in a different software might appear microscopic or gargantuan compared to Blender’s default cube. To maintain realism, it is vital to scale your dog model to real-world dimensions. A Labrador, for example, should be roughly 55 to 62 centimeters tall at the shoulder. By pressing the "N" key to open the side panel, you can check the exact dimensions of your object. Correcting the scale early prevents future headaches with physics simulations, such as fur or cloth, which rely heavily on accurate world-space measurements to behave naturally.
It is a frequent frustration to import a model only to find it appearing as a solid, flat grey or a jarring neon pink. This usually happens because Blender cannot find the external image files used for the dog’s fur and eyes. To fix this, you should navigate to the "Shading" tab and ensure the Image Texture nodes are correctly linked to the files you downloaded. If the model looks "plastic," you may need to adjust the Roughness and Specular values in the Principal BSDF shader. For short-haired breeds like Beagles or Boxers, a subtle "Bump" or "Normal" map is essential to give the impression of muscle and skin texture without adding millions of unnecessary polygons to your scene.
If your free model comes with a pre-built skeleton, or "armature," you are ready to enter Pose Mode. This is where the magic happens, allowing you to move the dog’s limbs and head to create a natural stance. A realistic dog rarely stands perfectly still; a slight tilt of the head or a subtle curve in the spine adds an immense amount of character. If you find that the mesh "stretches" awkwardly when you move a leg, you may need to look into Weight Painting. This process tells Blender exactly which parts of the dog’s body should move when a specific bone is rotated. Even a basic rig can be used to sit the dog down or have it "look" at a focal point in your scene, significantly increasing the narrative quality of your render.
One of the most rewarding parts of using a dog model in Blender is applying a custom hair particle system. Even if your downloaded model has a "baked" fur texture, adding actual 3D hair strands can take the realism to the next level. By creating a new Particle System and setting it to "Hair," you can groom the dog using the "Particle Edit" mode. For realistic results, you should use "Clumping" and "Roughness" settings to mimic the way a dog’s fur naturally bunches together. Remember that render times will increase with the more hair you add, so it is often wise to use the "Children" setting in the particle tab to generate a high density of hair without slowing down your viewport while you work.
Great models can look mediocre under poor lighting, while simple models can look professional with the right setup. To make your dog 3D model truly pop, consider using a "Three-Point Lighting" setup or an HDRI (High Dynamic Range Image) for natural environment reflections. Dogs have wet noses and expressive eyes, both of which require "specular highlights"—small reflections of light—to look alive. Adding a small "Rim Light" behind the dog can help separate its silhouette from the background, which is especially important for dark-furred breeds like Black Labradors or Rottweilers. This technique highlights the contours of the fur and gives the model a sense of volume and depth.
Before you hit that final render button, optimization is key to ensuring your computer doesn't crash under the weight of a high-fidelity animal model. If your dog is in the background, you can likely lower the subdivision levels or reduce the hair count. However, for a hero shot, you’ll want to enable "Optix" or "CUDA" denoising in the render properties to get a clean image quickly. Once satisfied, you can export your scene as a high-resolution PNG or move the entire animated sequence into a video editor. By following these steps, you transform a simple free download into a professional-grade centerpiece for your digital art, proving that with the right workflow, high-end results are accessible to everyone.