حقن ويجوفي: كل ما تحتاج لمعرفته
Health |
2026-04-17 07:44:42
There are moments in life when you want transformation without upheaval, beauty without chaos. You want your space to feel new and special, but you don't want to live in a construction zone for weeks to achieve it. The peel and stick wall molding kit exists for precisely these moments, offering a path to architectural elegance that is as clean as it is fast. These innovative systems have revolutionized how we think about adding trim to our homes, replacing sawdust, nail guns, and drying glue with a process that takes hours rather than days. The concept is brilliantly simple: precision-crafted molding arrives with industrial-strength adhesive backing, ready to apply to your walls with nothing more than a level and a steady hand. For anyone who has ever admired the character that molding adds to a room but hesitated at the complexity of traditional installation, these kits offer a revelation. Clean, fast, and transformative, they prove that you don't need to disrupt your life to upgrade your home.
Understanding why peel and stick molding works so effectively begins with appreciating the engineering that goes into both the materials and the adhesive. The molding itself is typically manufactured from lightweight polyurethane or high-density foam composites that capture the look and texture of traditional wood trim while weighing a fraction as much. This lightweight quality is essential, as it puts minimal stress on the adhesive bond while allowing the molding to be handled easily during installation. The adhesive backing is the true technological marvel, a specially formulated acrylic or gel tape that creates a permanent bond with painted drywall and other smooth surfaces. Unlike the sticky tapes of childhood, these industrial adhesives are engineered to bear weight indefinitely, resist humidity and temperature fluctuations, and maintain their grip for years. They form molecular bonds with the wall surface, creating a connection that actually strengthens over time. For those who need eventual removability, careful application of heat softens the adhesive enough to allow clean peeling without wall damage, offering flexibility that traditional installation methods cannot match.
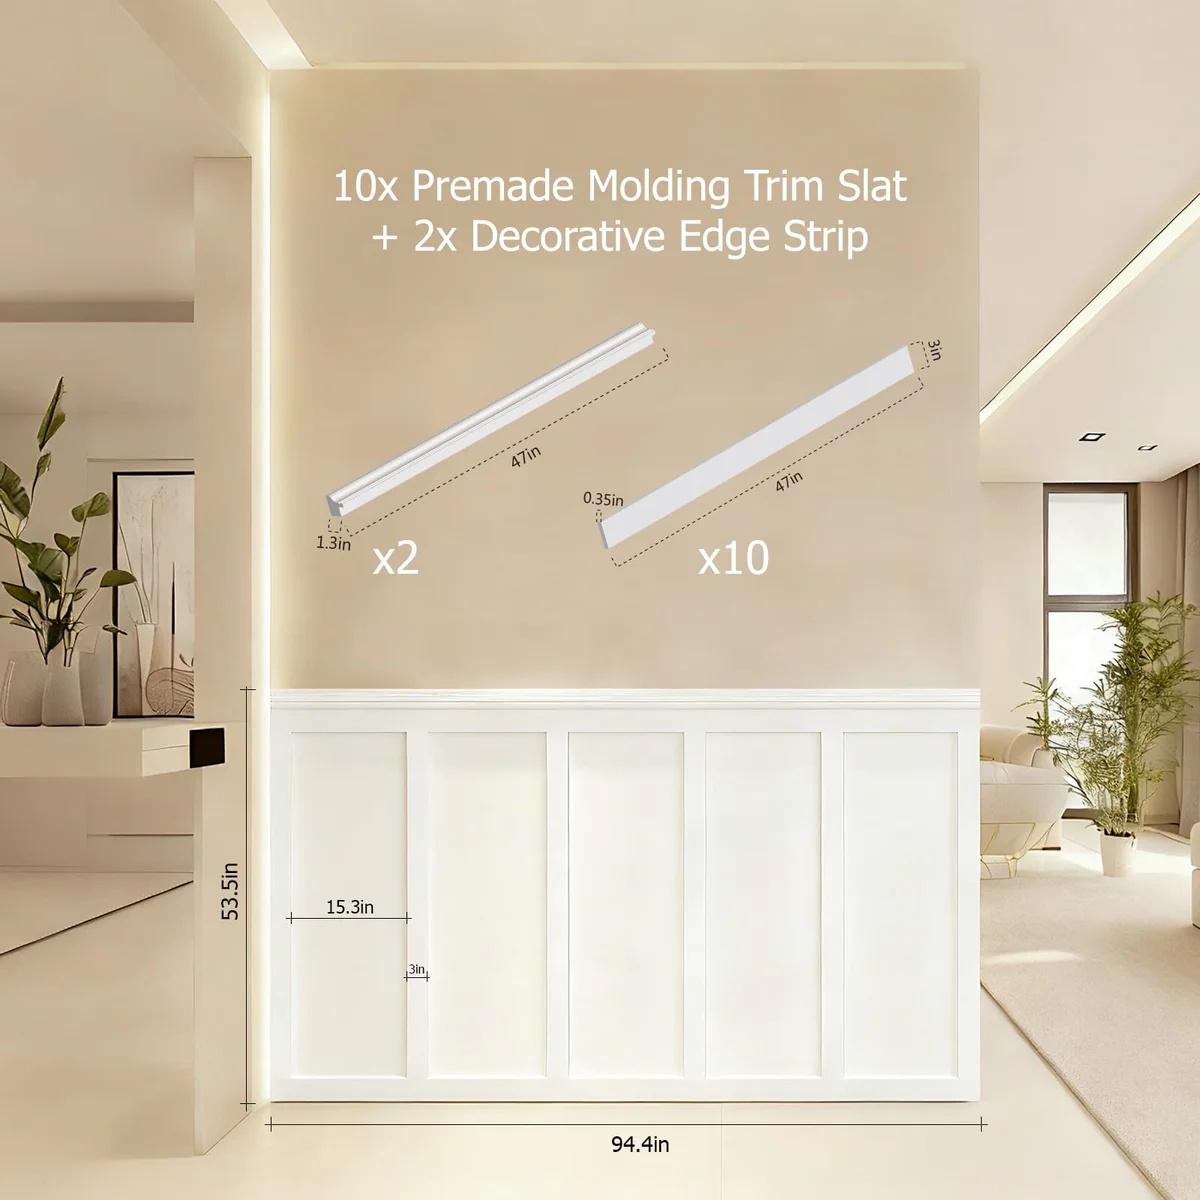
Opening a comprehensive peel and stick wall molding kit reveals a thoughtfully organized collection designed for immediate application. The primary components are the molding pieces themselves, available in profiles ranging from clean-lined modern to elegantly traditional. These pieces arrive pre-primed and ready to paint, with the protective backing paper keeping the adhesive covered until you are ready to install. Alongside the straight molding lengths, you will find coordinating corner pieces that simplify the creation of clean intersections. These corner elements are invaluable, eliminating the need for complex miter cuts and ensuring that every junction looks professional. Many kits include splice connectors that allow you to join pieces seamlessly on long walls, creating continuous runs without visible seams. Some comprehensive kits go further, providing alignment tools, installation templates, and detailed instructions specifically written for peel and stick application. Having everything included and coordinated from a single source eliminates the anxiety of piecing together materials and ensures that your installation proceeds smoothly from start to finish.
The success of any peel and stick project depends almost entirely on the quality of your wall preparation. Begin by thoroughly cleaning the areas where molding will be applied, using a solution of mild dish soap and warm water to remove dust, grease, and any invisible residues that might compromise the adhesive bond. Pay special attention to kitchens and other areas where cooking vapors may have deposited a film on the walls. Rinse with clean water and allow the walls to dry completely, ideally overnight to ensure no moisture remains trapped beneath your molding. Once dry, inspect the wall surface carefully. Small bumps or rough patches can be gently sanded smooth with fine-grit sandpaper. Any holes or cracks should be filled with spackle, sanded flush, and cleaned of dust. The goal is a perfectly smooth, perfectly clean surface that allows the adhesive to make maximum contact across the entire back of each molding piece. This preparation takes time and attention, but it is the single most important factor in ensuring that your beautiful new molding stays beautifully in place for years to come.
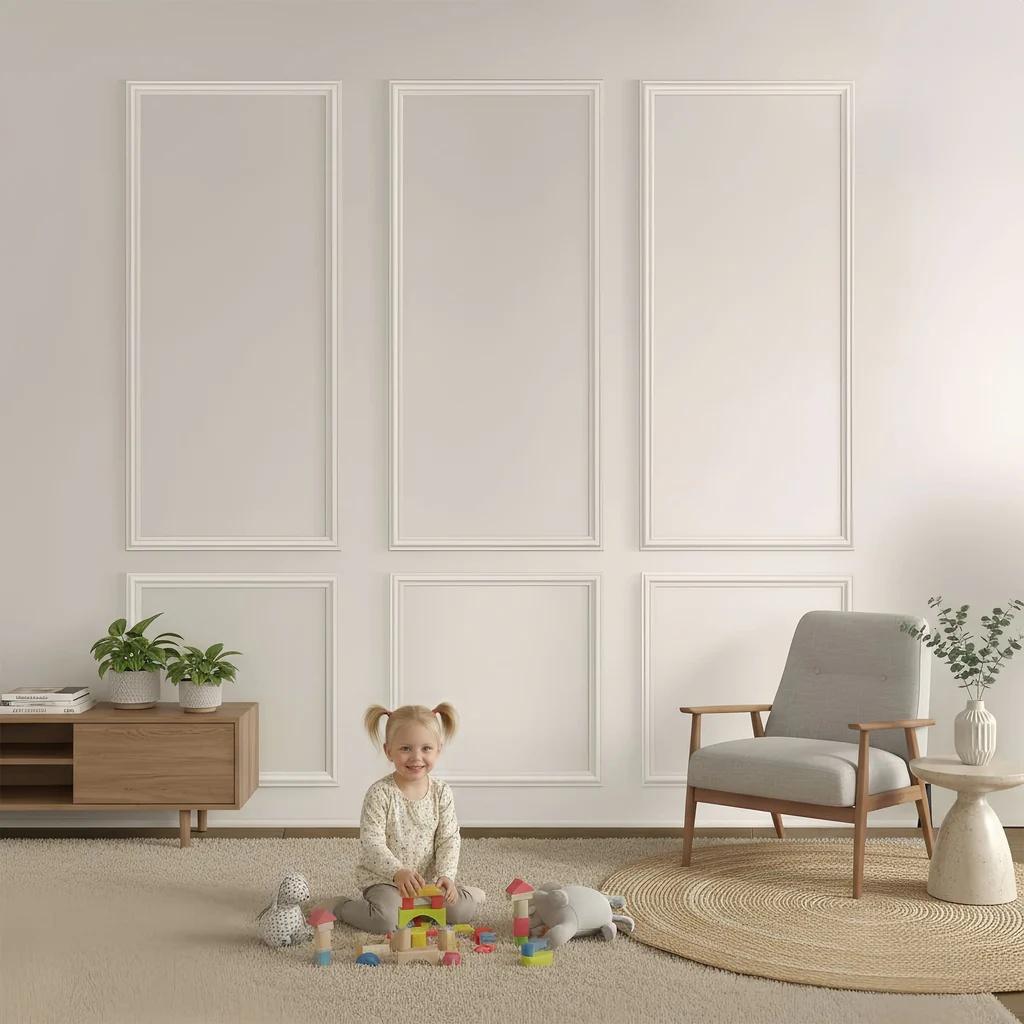
With clean walls and your kit unpacked, the creative heart of the project begins: designing your wall composition. The beauty of peel and stick systems is that you can experiment freely before committing to permanent placement. Use painter's tape to outline your proposed molding positions directly on the wall, creating a full-scale mock-up of your design. This allows you to step back, view the composition from different angles, and make adjustments before any adhesive touches the wall. Consider the proportions of your room and how your molding will interact with furniture and architectural features. In a living room, you might create a series of panels that relate beautifully to your sofa and console tables. In a dining room, think about how frames will align with your table and sideboard. In a bedroom, consider creating a single large panel behind the bed as a headboard alternative. This design phase is pure creative exploration, and the only rule is that you should love what you see. Once you settle on a layout that feels right, use a level and pencil to transfer your design as light guidelines on the wall.
With your design finalized and guidelines marked, installation becomes a remarkably satisfying process. Begin with the largest or most prominent pieces, as these establish the foundation for your composition. Peel away a small section of the backing paper from the top corner of your first piece. Position the molding carefully against your wall guidelines, and when you are confident in its placement, slowly peel away the remaining backing while pressing the molding firmly against the wall. Working from one end to the other helps prevent air bubbles from becoming trapped beneath the surface. Apply firm, even pressure along the entire length, paying extra attention to the edges where the adhesive needs to seal most effectively. A small roller or even a clean wallpaper smoother can help ensure complete contact. Continue around the room, installing each piece in sequence, using your corner pieces at intersections and splice connectors on long runs. The process is clean, quiet, and remarkably fast. There is no waiting for glue to dry, no nails to set, no holes to patch. Just the satisfying progression of your design taking shape before your eyes.
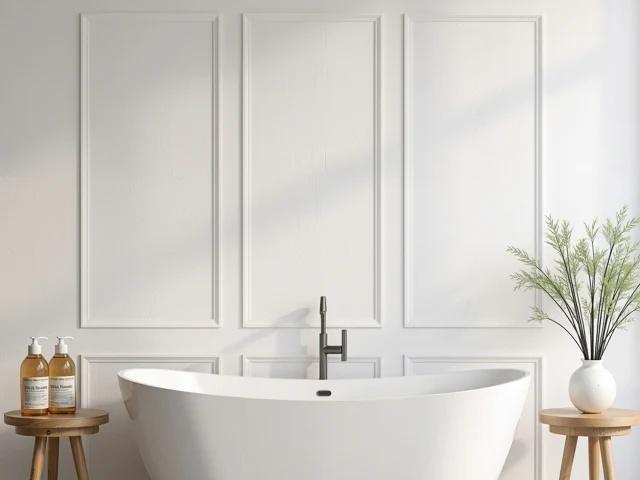
Once all molding is installed, the finishing phase begins. Because your pieces arrived pre-primed, they are ready to accept paint immediately. This is where your design truly comes to life. You have several options for how to approach the painting. Many homeowners choose to paint the molding the same color as the wall, creating a subtle, textural effect that reads as integrated architectural detail. Others prefer to use a contrasting color, making the molding pop and adding a graphic element to the room. White molding against a colored wall is a classic choice that never goes out of style. For modern spaces, consider painting the molding a darker shade than the wall, creating dramatic definition that grounds the room. Whatever color you choose, apply paint with care. Use an angled brush for the edges and a small foam roller for the broad surfaces, building coverage until the finish is smooth and uniform. As the paint goes on, watch your vision become reality, a room transformed by your own hands in a fraction of the time traditional methods would require.
While peel and stick molding works beautifully throughout the home, certain spaces truly showcase its unique advantages. Renters have perhaps the most to gain, as these systems allow them to personalize their space without risking their security deposit. When it is time to move, careful application of heat from a hairdryer softens the adhesive enough to remove the molding cleanly, leaving walls undamaged and ready for the next tenant. Bathrooms and kitchens, where moisture and temperature fluctuations challenge traditional materials, are ideal for these moisture-resistant systems. Home offices benefit from the quick, clean installation that doesn't require moving out or living with construction dust. Even bedrooms can be transformed in a single afternoon, with no disruption to your daily life. Perhaps most importantly, peel and stick molding opens the door to architectural detail for anyone who has ever felt intimidated by traditional carpentry. It proves that elegance need not be complicated, that beauty need not be difficult, and that with the right materials, anyone can create a home that reflects their taste and their vision, quickly, cleanly, and with satisfying results.