
Intelligent Power Module Market Size to Expand to $7.71 Billion by 2032 | CAGR 11.0%
Other |
2026-03-24 11:34:19
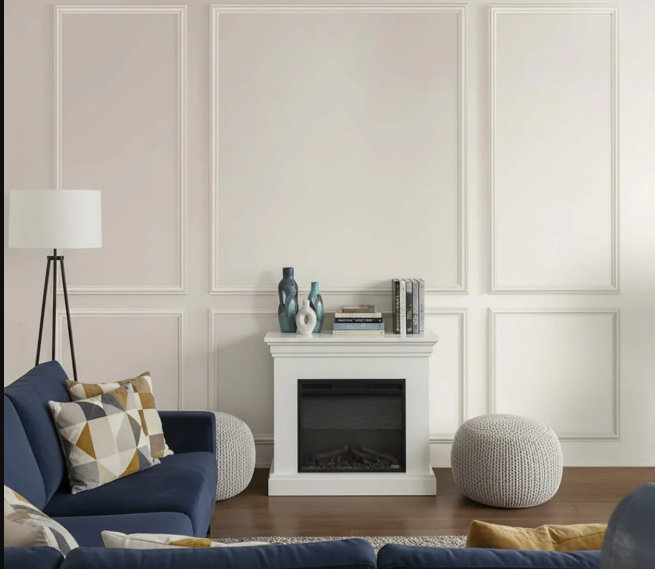
DIY wall molding kits empower anyone to craft stunning accent walls that rival designer showrooms, all without breaking the bank or hiring pros. These all-in-one packages typically include foam or polyurethane moldings, adhesives, caulk, and tools, designed for peel-and-stick simplicity or light nailing. Perfect for renters or homeowners craving personalization, they turn flat walls into focal points with geometric patterns, arches, or layered frames. In Lahore's vibrant homes, where bold colors meet cozy vibes, these kits let you experiment affordably—think intricate borders framing family photos or textured panels behind TVs. It's hands-on creativity that delivers pro results in hours.
Unpacking the Kit's Essential Components
A standard DIY wall molding kit arrives compactly with everything needed: flexible moldings in 8-foot lengths, strong double-sided tape or no-more-nails glue, fine-tip caulk for seamless joints, and touch-up paint samples. Some premium sets add corner connectors, levels, and stencils for flawless patterns. Materials like lightweight EVA foam resist cracking in humid climates, while detailed instructions with QR codes link to video demos. No specialty tools required—just scissors, a measuring tape, and enthusiasm. This thoughtful bundling demystifies the process, ensuring even first-timers build confidence from unboxing to admiration.
Selecting Styles for Your Personal Aesthetic
Choosing a molding style starts with your room's mood—opt for crisp geometric grids in modern living rooms to echo minimalist furniture, or flowing medallions in dining areas for elegant drama. Kits offer versatility: slim rails for subtle height, bold rosettes for ceilings, or mix-and-match panels for ombre effects. Consider scale—oversized in spacious halls, delicate in cozy nooks. In Pakistani interiors blending Mughal motifs with contemporary flair, ornate kits mimic jaali screens beautifully. Test layouts on paper first; the right pick amplifies light, hides imperfections, and ties schemes together effortlessly.
Preparing Your Space for Flawless Application
Prep transforms a good install into a great one: clear furniture, repair wall cracks with spackle, and wipe surfaces dust-free for max adhesion. Tape off edges with painter's tape to protect floors and trim, then prime uneven spots for even paint absorption. Measure twice—mark center lines with a laser level for symmetry, especially on accent walls. In drafty or humid spots like Lahore balconies, ensure walls are dry to prevent bubbling. This 30-minute ritual sets the stage, avoiding costly do-overs and yielding walls that look bespoke.
Step-by-Step Installation Mastery
Dive in by cutting moldings to size with sharp scissors, beveling corners at 45 degrees for mitered joins. Start centrally, pressing pieces firmly into place—adhesive grips instantly, but reinforce with pins if needed. Work outward, butting ends tightly and filling gaps with caulk smoothed by a wet finger. For layered designs, build from base rails upward, stepping back often to check alignment. Dry time? Just 24 hours before painting. Beginners marvel at the speed— a full accent wall in an afternoon—turning skeptics into decorators overnight.
Painting and Finishing for Pro-Level Polish
Painting elevates raw moldings to heirloom quality: prime first for even coverage, then apply two coats of latex in your hue of choice, using a foam roller for texture-free results. Gold leaf or metallic sprays add luxe shimmer on edges, while distressing with sandpaper crafts vintage patina. Blend with walls via feathering technique, blending paint softly at seams. Eco-friendly, low-VOC options suit family homes. The magic happens as shadows play on contours post-dry, creating depth that shifts with light—your custom wall now steals every glance.
Inspiration from Diverse Room Transformations
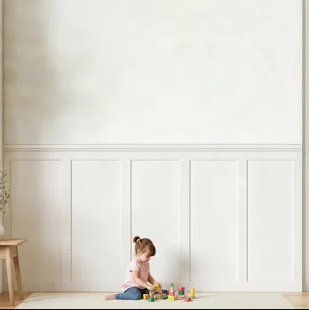
Living rooms bloom with framing diy wall molding kit around gallery walls, drawing eyes to art amid neutral palettes. Bedrooms get romantic arches over headboards, softening stark whites. Kitchens shine with under-cabinet ledges for herb displays, merging form and function. Home offices use vertical stripes to elongate spaces, boosting focus. In multipurpose Lahore flats, kits zone areas—like molding a reading nook from open plans. Social media bursts with user pics: a teal feature wall in a nursery or brass-accented powder room. These tales prove endless adaptability.
Troubleshooting Common Hurdles with Ease
Bumps happen—warped walls? Shim with kit spacers. Adhesive fails? Clean residue and reapply. Visible seams? Blend with caulk tinted to match paint. For peeling in steamy baths, switch to silicone-based glue. Uneven cuts improve with steady hands and practice scraps. Most fixes take minutes, and kits often include extras for mishaps. Patience pays; step away if frustrated, then tweak fresh-eyed. Mastering these keeps projects fun, building skills for future feats.
Budget Wins and Timeless Home Value
At $20-50 per kit covering 40 square feet, DIY molding crushes pro costs—save thousands while gaining satisfaction. It boosts resale appeal, with staged accent walls fetching 5-10% higher offers per realtors. Durable materials last 20+ years, low-maintenance too. Eco-kits from recycled foam align with sustainable living. In Pakistan's rising property scene, these upgrades signal taste without ostentation. Ultimately, it's about joy: crafting walls that reflect you, day after day.