Convert Image to PES File Free for Brother Embroidery Designs

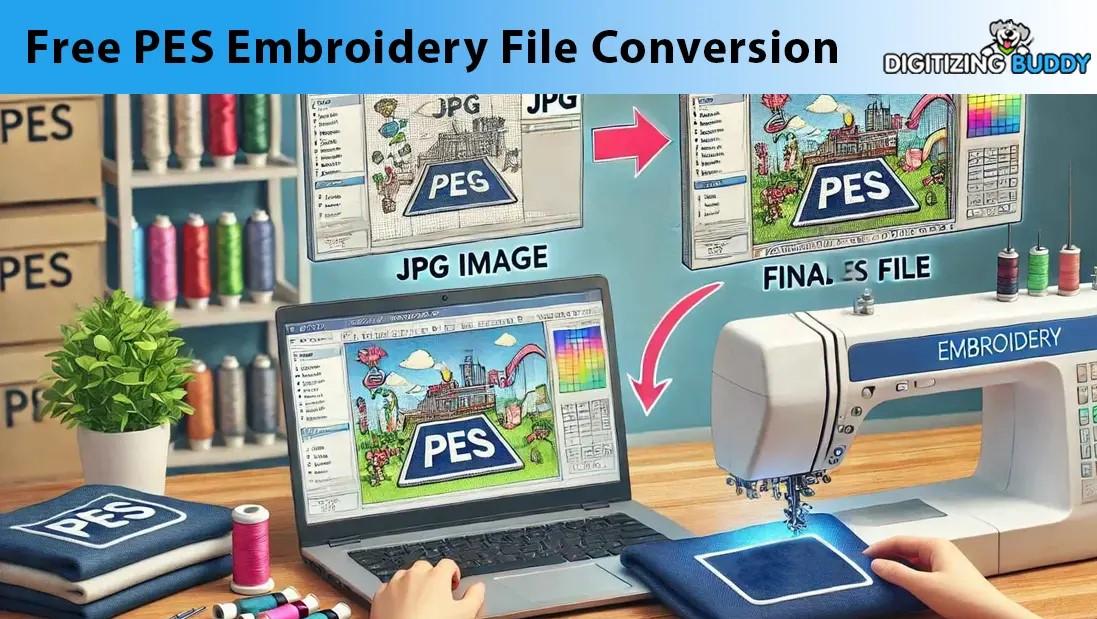
Embroidery lets you turn any image into a stunning stitched design, perfect for personalizing t-shirts, bags, or gifts with your Brother embroidery machine. The PES file format, designed for Brother machines, is your key to creating clean, professional designs without spending a dime on expensive software. By using free tools, you can digitize images—like logos or patterns—into PES files that your machine reads effortlessly. Whether you’re a beginner crafting for fun or a small business owner on a budget, this process is simpler than you think. This guide shows you how to convert image to PES file free, helping you create awesome Brother embroidery designs with ease.
Why Use PES Files for Brother Machines?
PES files are the go-to format for Brother embroidery machines, like the SE600 or PE800, because they store precise stitch data, including colors, types, and density. This ensures your design—whether a monogram or a floral pattern—stitches out clearly, avoiding issues like warped shapes or thread breaks. PES files support up to about 100,000 stitches, ideal for most home projects, from small patches to larger jacket designs.
Using free tools to create PES files saves money while delivering professional results. It’s perfect for hobbyists or startups who want quality embroidery without investing in pricey software, making it easy to customize designs for any fabric.
Free Tools You Need to Get Started
You don’t need a fancy setup to digitize for free. A basic computer runs free software smoothly, and a mouse is enough for tracing—save the graphics tablet for later.
The star of the show is Ink/Stitch, a free Inkscape extension that converts images to PES files and works great for Brother machines. Inkscape, also free, doubles as a vector editor to prep your images. You’ll need a USB drive to transfer the PES file to your Brother machine. These tools are all you need to start digitizing, keeping your wallet happy and your designs sharp.
Preparing Your Image for Digitizing
Start with a clear image for the best results. Vector files (SVG or AI) are ideal because they scale without losing quality, perfect for crisp stitches. If you have a photo (JPEG or PNG), use at least 300 DPI to avoid pixelation. Open the image in Inkscape, simplify it by removing complex backgrounds, gradients, or tiny details that won’t stitch well, and save as an SVG.
This prep takes 5-10 minutes and ensures your design—whether a logo or a cartoon—translates smoothly into embroidery, setting you up for a clean PES file.
Step-by-Step Guide to Convert Image to PES Free
Follow this simple process using Ink/Stitch to create a PES file for your Brother machine. It’s beginner-friendly and fast.
- Install Ink/Stitch: Download and install Inkscape, then add the Ink/Stitch extension (free from inkstitch.org). It’s easy to set up and supports PES.
- Import the Image: Open Inkscape, load your SVG, and resize it to fit your Brother’s hoop, like 4x4 inches for small designs or 5x7 inches for bigger ones.
- Trace the Design: Use Inkscape’s trace bitmap tool or draw outlines manually with bezier tools. Keep lines smooth for text or curves to ensure clean stitches.
- Assign Stitch Types: In Ink/Stitch, apply satin stitches for outlines or text under 1cm, fill stitches for larger areas like shapes, and running stitches for fine details.
- Set Stitch Density: Use 0.4mm for most fabrics to balance coverage and avoid puckering. For stretchy knits, try 0.5mm.
- Add Underlay: Include zigzag underlay for stability, especially on t-shirts or stretchy fabrics.
- Choose Colors: Pick thread colors from Ink/Stitch’s chart, matching Isacord or Brother threads. Use 2-3 colors for simplicity.
- Adjust Pull Compensation: Add 0.2mm to counter fabric stretch, keeping your design’s shape intact.
- Preview the File: Use Ink/Stitch’s simulator to check for jumps or gaps. Tweak paths if needed for smooth stitching.
- Save as PES: Export the file as PES, selecting the version compatible with your Brother machine (check your manual). Transfer via USB.
- Test the Design: Stitch the design on scrap fabric to verify tension and quality before the final project.
This takes about 15-20 minutes for a simple design. Start with bold logos or shapes before tackling detailed images.
Tips for Clean, Free PES Conversion
Keep your designs sharp with these tips. Use vector images for the best clarity—raster images can blur when enlarged. Test on fabric matching your project, like cotton for shirts. Keep stitch counts low (under 50,000) for faster stitching on Brother machines. Use Ink/Stitch’s auto-digitizing for quick setups, then refine manually. Save files with clear names, like “Logo_PES_4x4,” to stay organized. These habits make free digitizing easy and effective.
Common Challenges and Fixes
Free tools can have hiccups. If your design distorts, add pull compensation and test on similar fabric. Thread breaks? Lower density to 0.5mm in dense areas or shorten jump stitches. Blurry small details? Simplify the image or use running stitches. Color mismatches? Use a physical thread chart for accuracy. If your Brother machine rejects the file, check the PES version and hoop size compatibility. Testing on scraps catches issues early.
Advanced Ideas for Brother Designs
Once you’re comfortable, try fun upgrades with Ink/Stitch. Add texture with layered fill stitches for a 3D effect, if your Brother machine supports it. Use appliqué to add fabric patches, cutting stitch counts for large designs. Experiment with metallic threads for extra flair. These tricks enhance your designs but take practice, so test on scraps first.
When to Consider Professional Services
If time’s tight or your design is complex, pros like Absolute Digitizing or Cool Embroidery Designs can create PES files for Brother machines, often in 24-48 hours. They’re affordable, with strong portfolios and revisions. Outsourcing is handy for bulk orders or intricate logos, letting you focus on stitching.
Conclusion
Converting images to PES files for free is a game-changer for Brother embroidery designs, letting you create professional looks without spending a cent. With Ink/Stitch, a simple process, and beginner-friendly tips, you turn any image into a stitch-ready masterpiece. Start with easy designs, test thoroughly, and explore creative touches as you grow. Whether you digitize yourself or hire pros for tricky projects, your Brother machine will deliver stunning results. Grab Inkscape, pick an image, and start converting images to PES file free today for embroidery that pops.


