
The Majlis Masterpiece: Boutique Toupees
Health |
2025-12-06 06:50:19
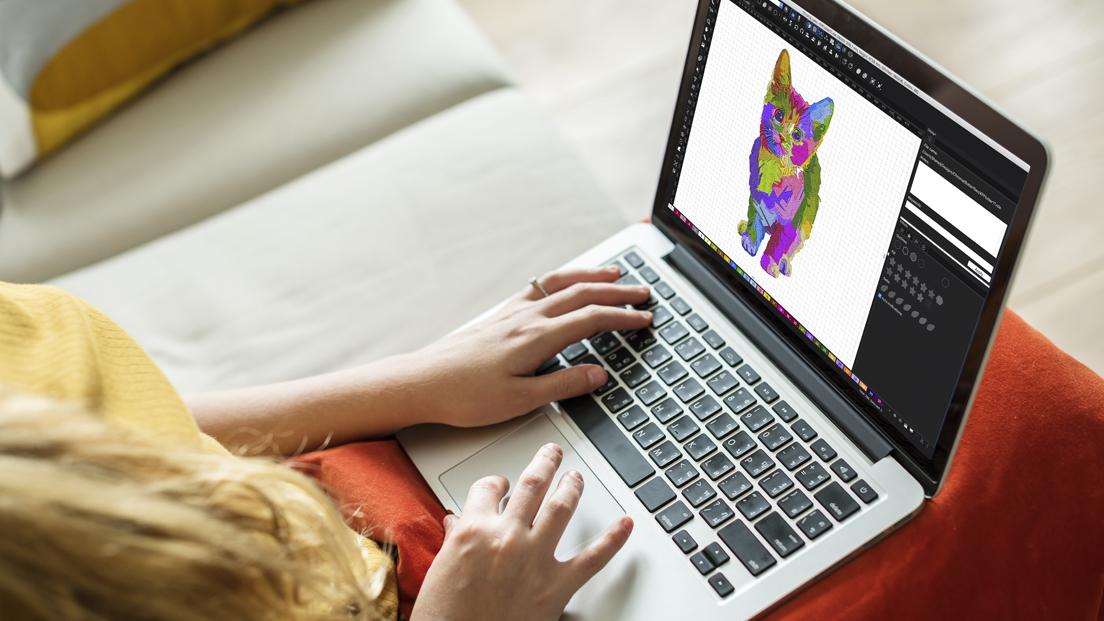
You have a brilliant idea. Maybe it’s a custom logo for a team jersey or a personalized design for a baby blanket. You can see it perfectly in your mind, and you’ve even created a slick JPG image on your computer. But when you go to load it onto your Janome embroidery machine, nothing happens. That’s when the realization hits: your machine doesn’t speak the language of pictures. It speaks the language of stitches, and for Janome, that language is JEF. Learning how to Convert Image to JEF File is the essential skill that bridges this gap, transforming your digital artwork into beautiful, physical embroidery without the stress.
This guide is designed to walk you through the entire process, from understanding what a JEF file actually is to the pro-level tips that ensure your final stitched-out design looks exactly as you imagined. Let’s demystify the process together.
First things first, let's clear up a common misconception. Your Janome embroidery machine is not a printer. You can’t just feed it a picture and expect it to know what to do. A JPG, PNG, or any other image file is a grid of pixels that defines color and light. It’s a visual map.
A JEF file (Janome Embroidery Format) is something entirely different. Think of it as a detailed set of instructions, like a recipe or a musical score for your machine. It doesn't contain a picture; it contains commands:
Stitch Commands: The precise coordinates for every single needle drop.
Color Sequence: The order in which thread colors should be used.
Function Codes: Instructions for trimming the thread, jumping between sections, and even pausing for a color change.
When you provide your Janome with a JEF file, you’re giving it a step-by-step plan it can execute with perfect precision. A JPG is just a picture of the finished cake; the JEF file is the recipe.
To translate your image into a language your Janome understands, you need the right software. Your choice will depend on your budget and how deep you want to dive into the craft.
1. Janome Digitizing Software (The Native Solution)
Janome offers its own software, like Janome Digitizer MBX. This is the most seamless option because it’s built specifically for your machine.
Pros: Guaranteed compatibility, powerful editing tools, and official support from Janome.
Cons: It represents a significant investment, making it best for serious hobbyists or small businesses.
2. Third-Party Dedicated Software (The Power User's Choice)
Programs like Wilcom Hatch, Embrilliance, or Brother's PE-Design are industry-standard tools that support JEF output.
Pros: Incredibly powerful features for creating and editing complex designs. A one-time purchase gives you extensive control.
Cons: These have a steeper learning curve and can be expensive. However, many offer tiered pricing, so you can buy the level of features you need.
3. Auto-Digitizing Software (The Speedy Shortcut)
Many software packages, including the ones mentioned above, have an "Auto-Digitize" function. You import your JPG, and the software attempts to automatically create an embroidery file from it.
Pros: This is the fastest way to get a result. It can work well for very simple, high-contrast designs like bold text or basic shapes.
Cons: It’s a gamble. The software often makes inefficient choices, leading to excessive stitches, awkward jump sequences, and poor stitch placement on complex images.
4. Online File Converters (The "Try-Before-You-Buy" Option)
Various websites offer instant JPG to JEF conversion, often for free or a small fee.
Pros: They require no software installation and are incredibly easy to use.
Cons: This is the riskiest option. You surrender all quality control. The results are frequently unreliable and should only be used for non-critical projects after a thorough test stitch on scrap fabric.
Let’s break down the conversion process using dedicated software, which gives you the best chance for a high-quality, stitchable result.
Step 1: Begin with the Best Possible Image
Your final embroidery is only as good as the image you start with. Set yourself up for success by choosing an image with:
Clear Boundaries: Sharp, distinct edges between colors.
Minimal Detail: Fine details and gradients often get lost in translation.
High Contrast: A simple, bold logo converts far better than a busy photograph.
Step 2: Import and Set Your Ground Rules
Open your digitizing software and import your JPG. Before you even think about converting, you need to set your parameters. This tells the software the "rules of the road."
Design Size: Define the exact height and width of your final embroidered design.
Fabric Type: Select the material you plan to stitch on. Embroidering on a towel requires different settings than stitching on a stretchy knit.
Stitch Type Assignment: Decide which parts of your design will be satin stitches (great for outlines) and which will be fill stitches (for large areas).
Step 3: Run the Auto-Digitizer & Analyze the Result
Go ahead and click the auto-digitize button. Observe what the software creates. For a simple design, it might be a decent starting point. But you will likely notice areas for improvement: choppy curves, a illogical order of operations, or unnecessary thread trims. This automated draft is your raw material, not your finished product.
Step 4: The Magic Happens: Manual Editing and Refinement
This is the phase that separates a mediocre conversion from a professional one. Roll up your sleeves and dive into the digitized design.
Clean Up Stitch Points: Manually smooth the points that form your shapes to eliminate jagged lines.
Optimize the Path: Reorder the sequence of elements so the machine embroiders all areas of one color before moving on. This minimizes long jumps and thread breaks.
Fine-Tune Stitch Settings: Add an underlay stitch to stabilize the fabric and adjust the density of your top stitches to prevent puckering or gapping.
Step 5: Save as JEF and the Crucial Test Stitch
Once your design looks perfect on screen, export it as a JEF file and save it to your USB stick. But you are not done! The single most important step is the test stitch. Hoop a piece of scrap fabric that matches your final project’s material. Run the design and watch carefully.
Does the fabric pucker? (Reduce stitch density).
Are there gaps between the fill and outline? (Increase pull compensation).
Does the machine make too many trims? (Revisit your stitch path).
Take notes, go back to the software, make adjustments, and test again. This iterative process is the true secret to flawless embroidery.
Even with careful work, you might run into issues. Here’s how to solve the most common ones:
Design is Too Dense: The design feels stiff and the fabric puckers. This is the #1 beginner issue. The solution is to reduce the stitch density in your fill areas. Your software will have a setting for this—don’t be afraid to lower it significantly.
Gaps or Pulling in the Design: The fill stitches aren't overlapping the outlines, or the fabric is pulling. Increase the "Pull Compensation" setting to allow the fills to expand slightly, and ensure you’re using the correct stabilizer for your fabric.
Jagged or Blocky Curves: The auto-digitizer used too few points. Use your software's editing tools to manually add and smooth points along the curve for a cleaner, rounded appearance.
Converting a JPG to a JEF file might seem like a technical hurdle, but it’s really a creative gateway. It’s the process that empowers you to move beyond pre-made designs and bring your unique visions to life. Start simple, be patient with the learning curve, and always, always perform a test stitch.
Your Janome is a powerful tool waiting for your direction. By mastering the art of JEF file conversion, you stop being just an operator and start being a true creator. Now, take that idea, convert it, and stitch something amazing.